3. Fabrication - Laser Cutter
- Astro Lee

- Feb 20, 2024
- 3 min read
This week, as always, I started out ambitious.
I started out by making a panel-wood bracelet. Ah, don't I love shooting for the impossible, ...
And of course, yes. I failed :)
Broh-kken.

HEH.
Well, actually, I started out by testing the laser cutter.
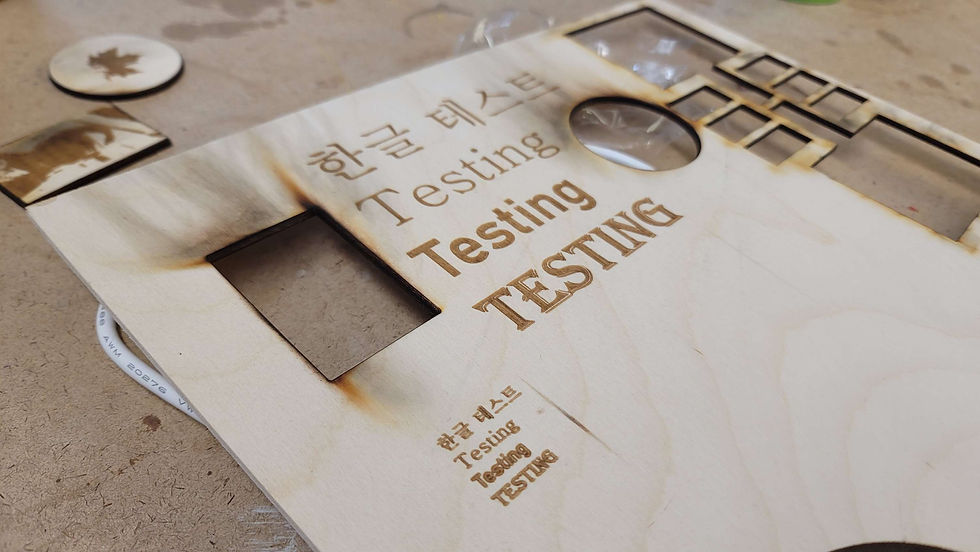
I wanted to see how small of an area or thing it would engrave.
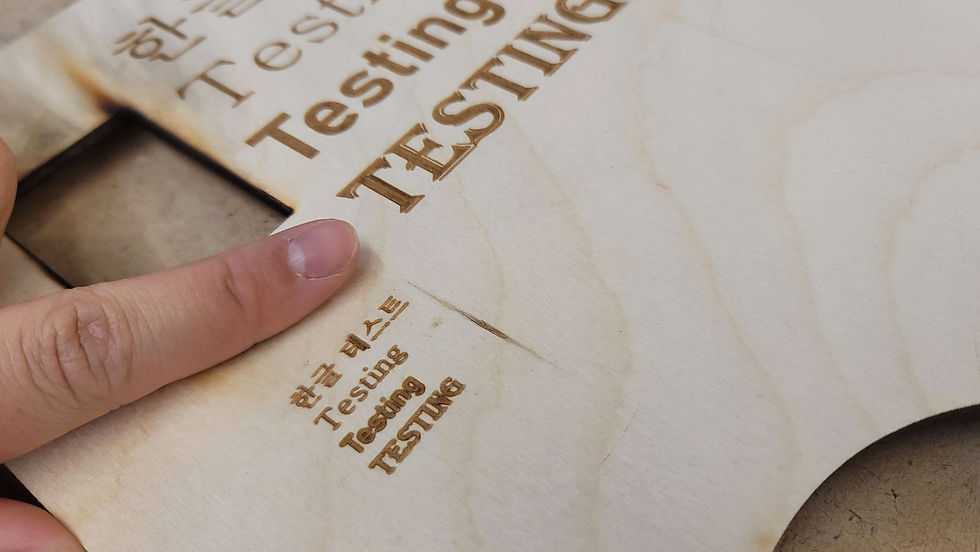
And I also got curious how well it would do with Korean. It did quite well.
Maybe I should write my parents something with that.
Oh, it just says 'Testing in Korean'

Although I didn't appreciate how it burned my portrait, I was impressed by how accurate this thing works.
So... I started to dream big once more. I made a bendable pattern on Illustrator, thinking I could make a bracelet. Thank you Pitnerest, for letting me dream.
So below is the pattern that I first tried. With the more holes, I thought would give me more bendiness. I was wrong.

Reference of how small this is. Also - the burn! The ash! But it really smelled good.
But it was completely un-bendable.

So I realized I should try something bigger, so I made another pattern, something enhanced.

--> And also took me some time to get used to how to work on the laser cutter.
(In the above photo I have the ankle knot area out of size)
But then got other pieces of scrap wood to try different variations.

Although the laser cutters were troublesome and I had multiple goes to learn how to actually cut through the materials properly...
It was almost bending -- I was going to take a picture of it almost bending, but I ended up breaking it before I take the picture. Hurt my heart.

SO I realized once again, Ah. It's time to move on..... Again.
So I decided to make a picture frame -- But for the laser cutter materials. An unconventional, very custom picture frame-support-legs that are triangles.

Long story short, I succeeded.
It was very fun to work with this one, because 1. I bought a wood panel + acrylic just for this project which made the job much easier, and 2. I knew about the laser cutter quite well now that I've tried & failed so many times.

(smol one) --> 1st Try
(BIG ONE) --> 3rd Try

So with the first try I realized I may have dug the holder hole to be too shallow, so I ended up deepening the hole with the two other tries.
This is what I got for the second try. (Acrylic small picture frame, same size as the first, but different material & different depth with the picture holder hole)
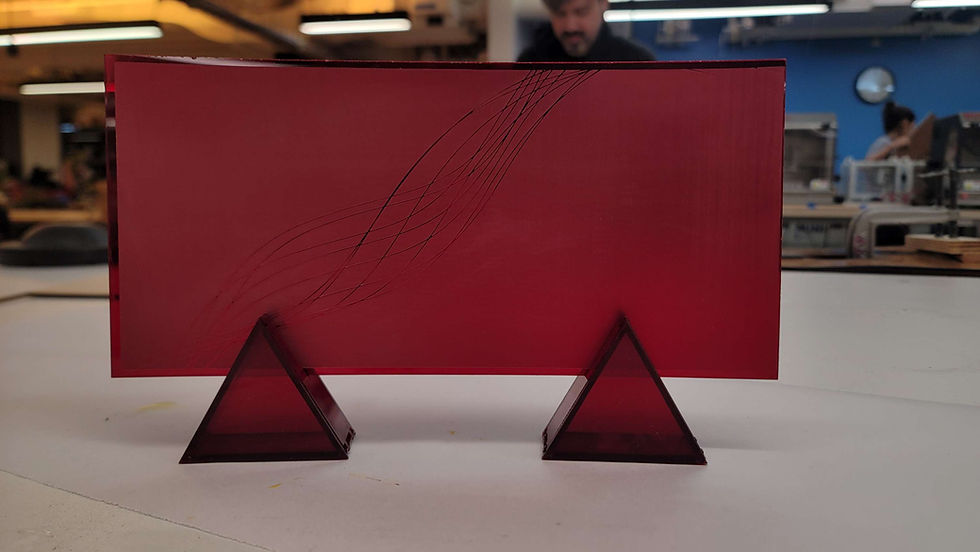
It was interesting to work with acrylic, because I realized oddly it was so much easier to cut through the acrylic material then the wood ones.
(Also it was veryyy pretty to watch it cut)

(It looked like it was cutting through jelly which was very satisfying to watch)
(Very Pretty)

And I assembled everything with glue - wood glue for the wood panels, acrylic glue for the acrylic ones. --> This made me buy acrylic & my own acrylic glue

^(The size difference between the two. The small and the big)
I didn't change the thickness values when I was blowing up the design for the big wooden frame holder, so it ended up being wonky with the edges - although it didn't bring up any big issues.
(Very extrudy teeth)

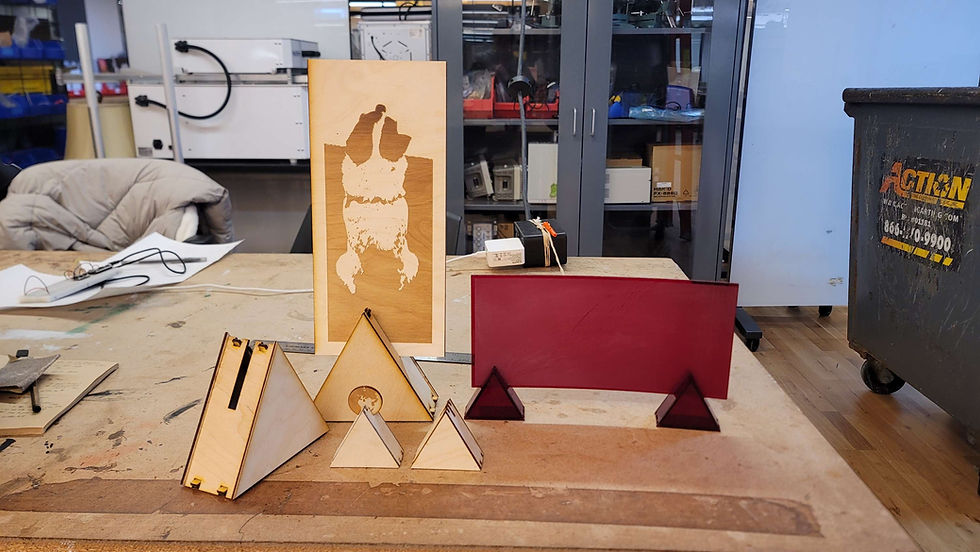
And then! Everything was assembled & put together. It felt really great to put everything together & see a whole batch. I was proud :]
My little doggo coin and frame holder + etched portrait of the upper dog.

(The acrylic from a different angle --because it's etched with negative space, it's pretty to see it from different angles.)

Then the final assemblage shot. Looks like a super hero poster.
(And I decided to use the first frame holder to be my coin holder.)

Ta Daa---
And that there, is my fabrication journey of the week.


Comments